Crop View is a tool used to adjust the visible portion of a view. It is typically used in Plan Views, Section Views, Elevation Views, and 3D Views. It allows users to focus on specific areas of their building model or to control the extent of the view.
Crop Region defines the boundaries for a project view. It is commonly used in Plan Views, Section Views, Elevation Views, and 3D Views. It allows users to display a model crop region and an annotation crop region in all graphical project views.
They can be found in the Properties section or on the View Control Bar.
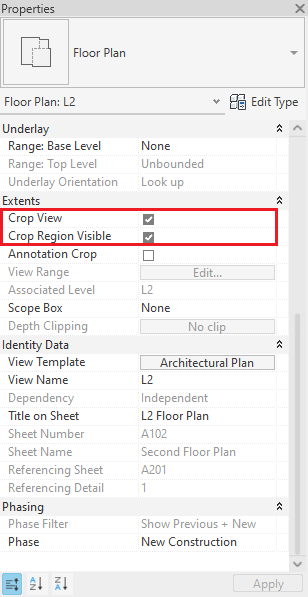

How to show Crop Region in Revit?
In the Properties section of a view, go to the Extents section and check Crop Region Visible or click on Show Crop Region on the View Control Bar.

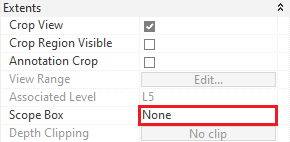
What to do if Crop View is grayed out?
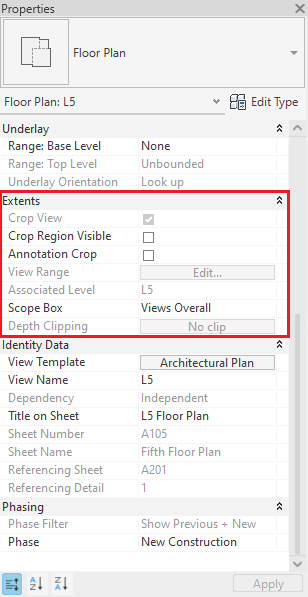
If Crop View is grayed out, make sure to set Scope Box to None.
How to Crop View in Revit?
- Make sure that the Crop Region is Visible.
- Manually drag the Crop Region to the desired position.
- To see only the cropped region, turn on the Crop View.
How to crop multiple views in Revit to the same dimensions and positions of Crop Region?
Revit doesn’t offer a particular tool to match dimensions and positions of Crop Region. When, for instance, you want to show different levels of the same building on separate sheets, you have to manually crop them and place them in the same/similar position. This can be a tedious and time-consuming task. Once the sheets are printed out, it will be easier to notice the inconsistency of the placed views.
To help you solve this issue and save valuable time on project preparation, it is helpful to use Crop Region. Crop Region, which is part of the Kobi Toolkit for Revit, offers several options. It allows creating crop region by inputting its exact dimensions, creating crop region from Selection (with the option to input offset distance), from Camera View, or by matching the Crop Region from different views. You can find more information about it here.
Example
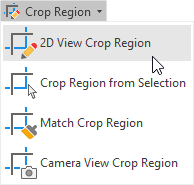
Open the view where you want to adjust the Crop Region, then go to the Kobi Toolkit tab and in the View panel select Crop Region. In the drop-down menu select 2D View Crop Region.
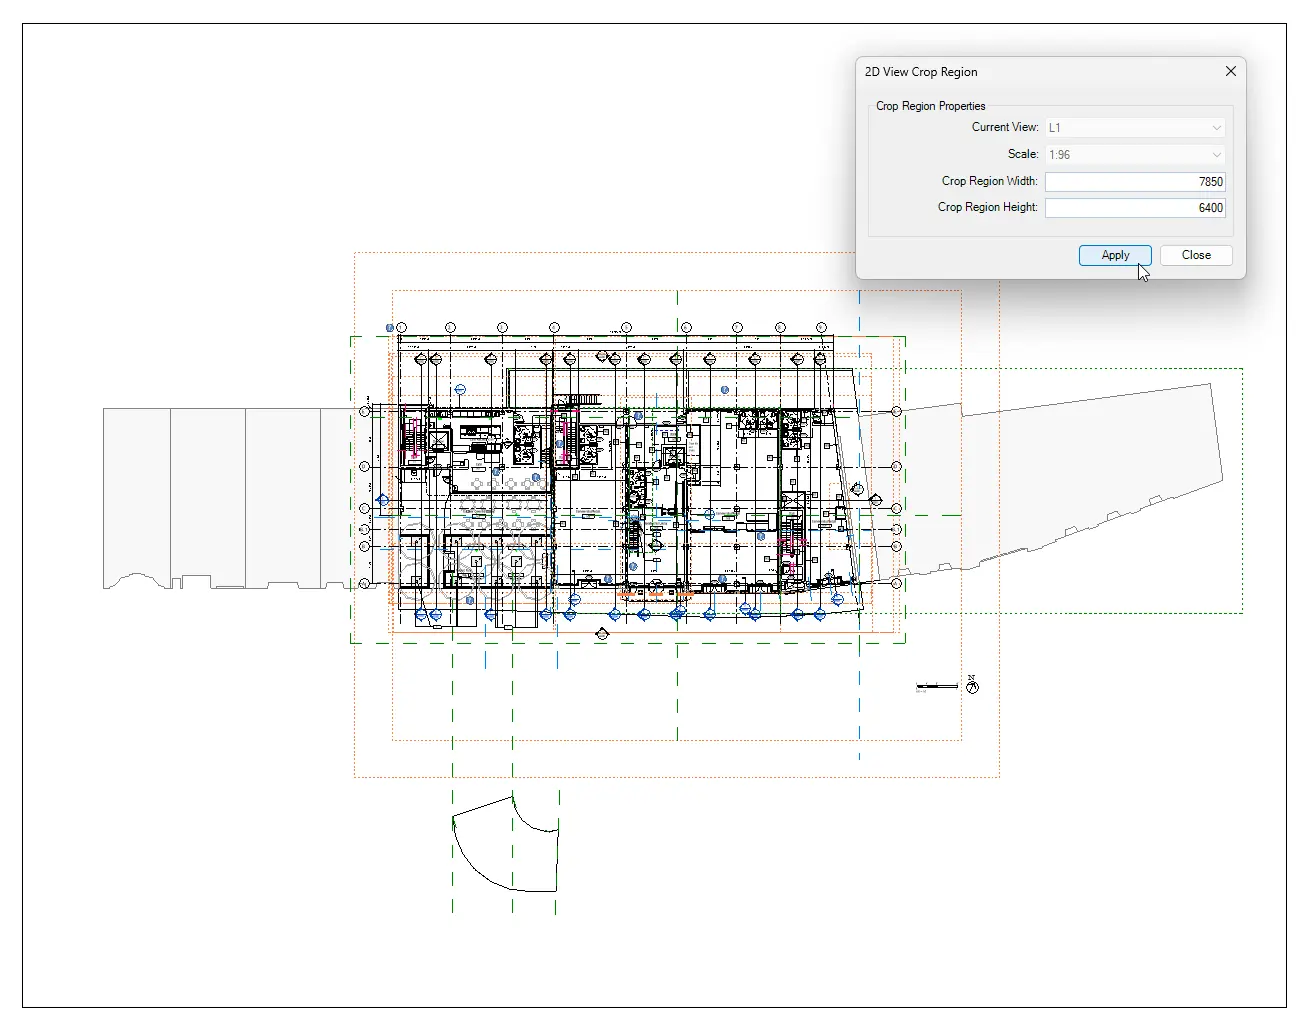
In the dialog box, you can now define the exact dimensions of your Crop Region Width and Height. Select Apply to confirm your choice.
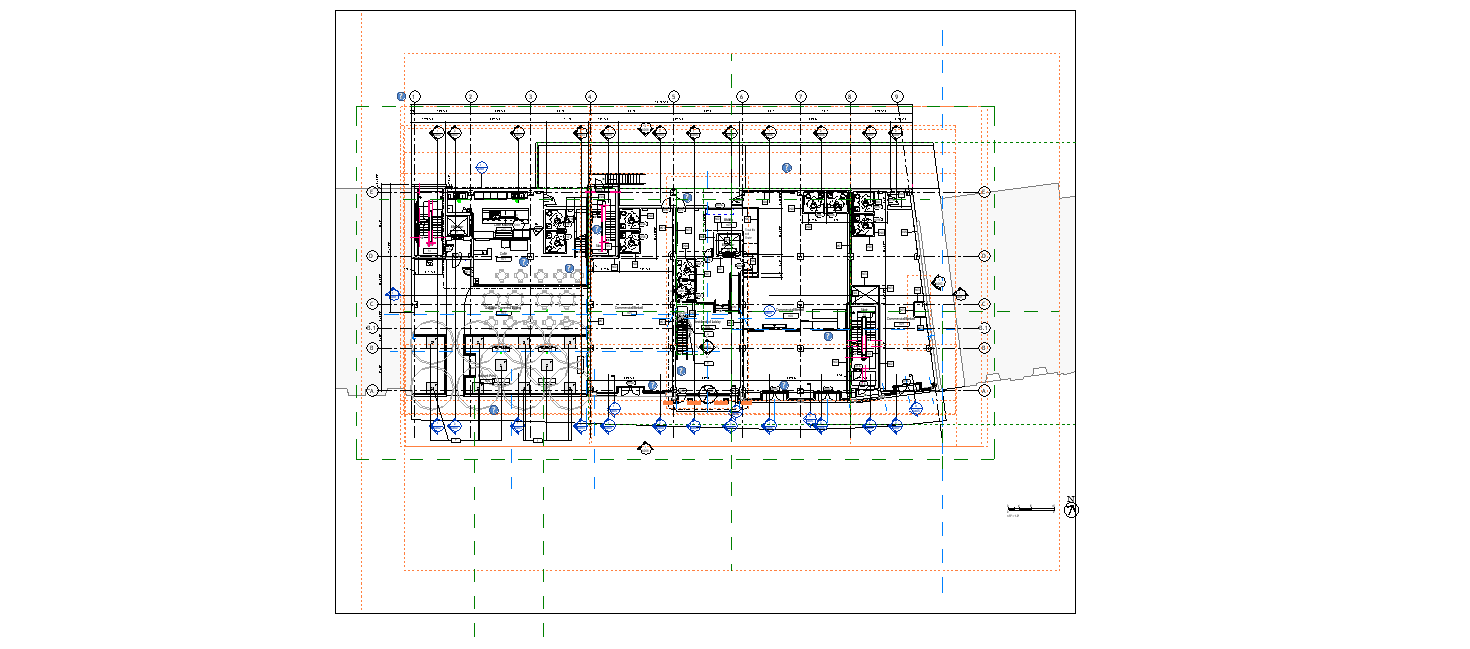
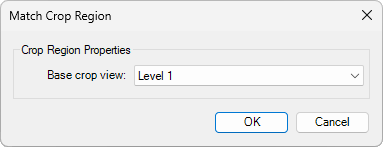
To Match the Crop Regions dimensions and position on different views, you can use the Match Crop Region tool. Open the view, where you want to adjust the Crop Region. Go to the Kobi Toolkit tab, and in the View panel select Crop Region. In the drop-down menu select Match Crop Region.
Select the Base Crop View and click OK.
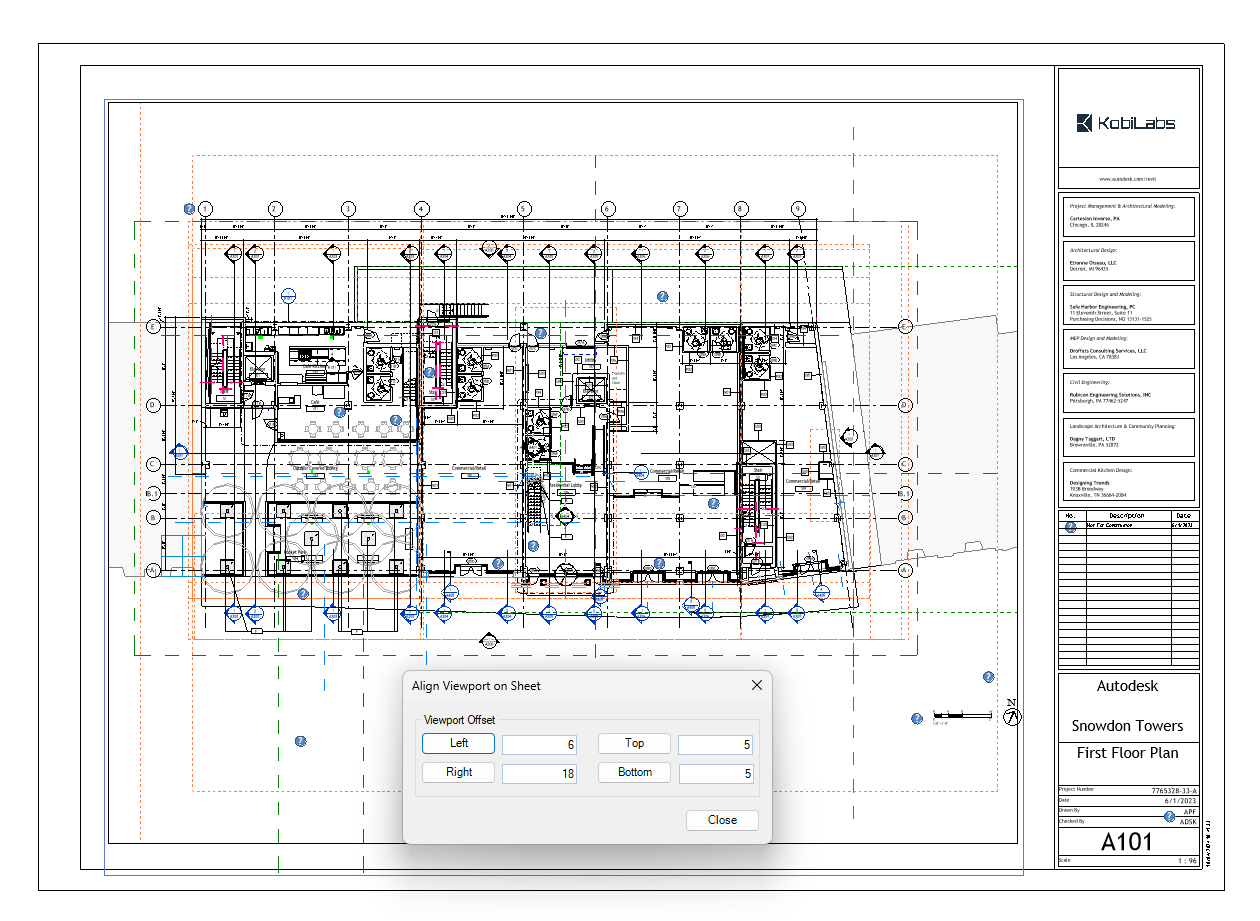
To place Views in the same position on every sheet, use the Align Viewport on Sheet tool. Go to the Kobi Toolkit tab, and in the View panel select Sheet. In the drop-down menu select Align Viewport on Sheet.
The tool displays a dialog that allows you to position a selected view on a sheet by choosing a side and an offset.
You can download a free trial of Kobi Toolkit for Revit here.

