Revit fill patterns are used to define the appearance of surfaces that are cut or shown in projection. Surface and Cut Patterns are used in the graphic asset of a material.
Revit already includes a pre-defined list of fill patterns for use in the project.
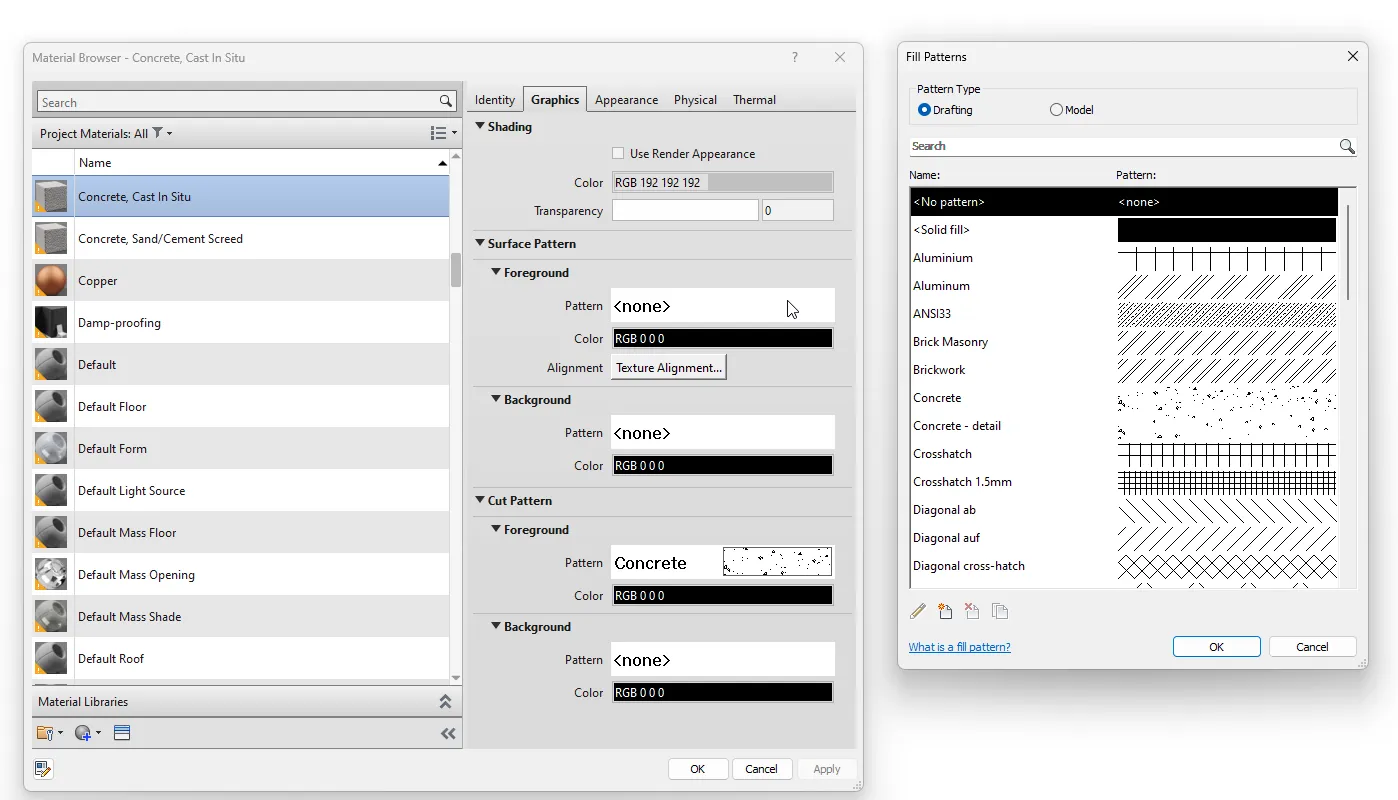
To define a new Fill Pattern, you can open a Fill Pattern dialog through the Material Browser. The same dialog box can also be opened from the Manage tab, Additional Settings drop-down, Fill Patterns.
Fill patterns are defined as either Drafting patterns or Model patterns. The difference between them is that Drafting pattern will always maintain size and spacing of elements of the pattern, regardless of view scale. A pattern defined with parallel lines spaced 3 mm apart, will always have its lines 3mm apart regardless of the view scale.
A Model pattern includes the “real world” spacing and will scale proportionately with the view scale.
Typically, when working with patterns for materials, the drafting patterns will be used for the cut and model patterns for the surface.
How to create a new Fill Pattern?
In the Fill Pattern dialog box select the pattern type you wish to create (Drafting or Model) and select New ![]() .
.
In the new dialog box, you can assign it a new Name, Type (Basic or Custom) and define the characteristics of the lines (Parallel/Crosshatch lines, Angle, Spacing).
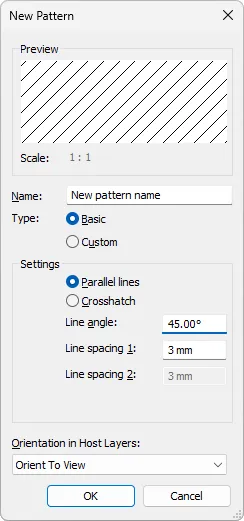
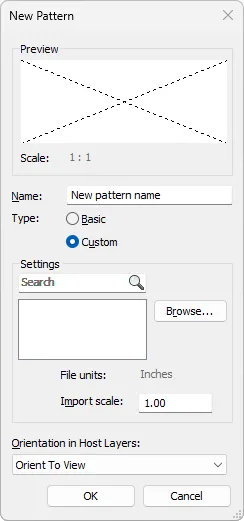
The Custom option also allows you to import and customize fill patterns (imported from PAT files). At the end set the Orientation in Host Layers and select OK to confirm new pattern.
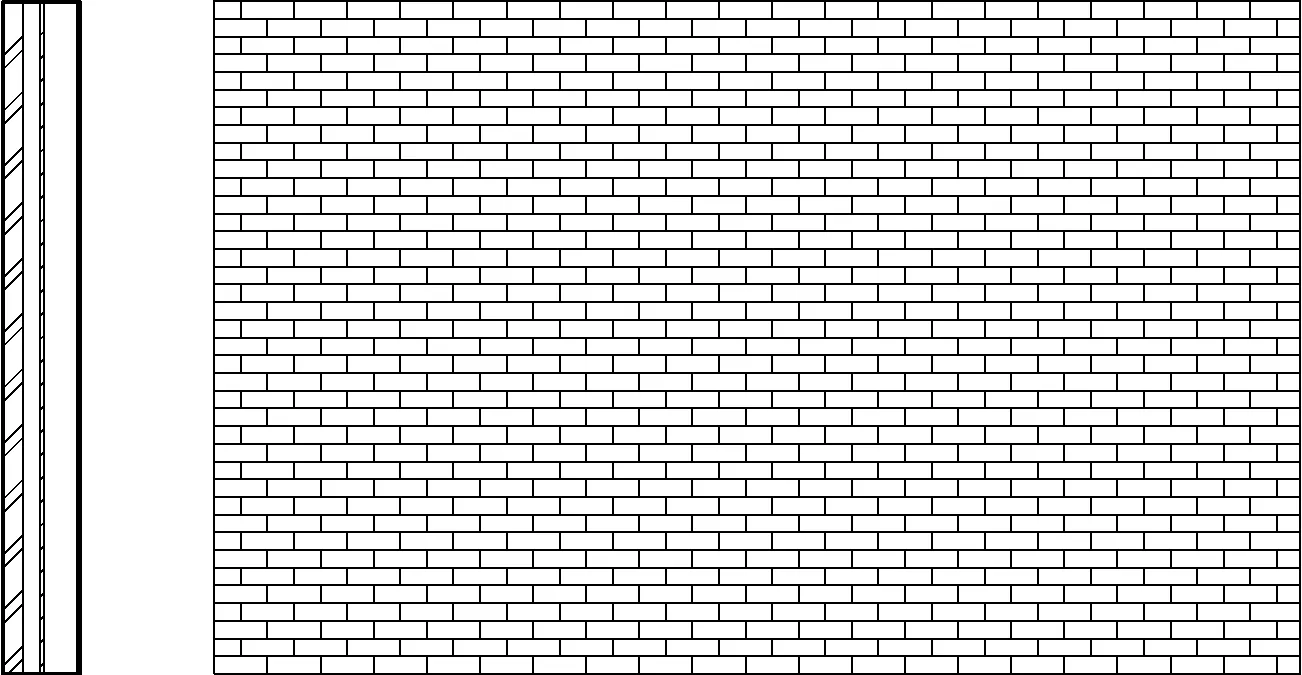
When you are happy with your choice, you can use the selected fill pattern in the definition of materials and filled regions. Model and drafting patterns can also be placed on planar and cylindrical surfaces and on families.
How to edit, duplicate, and export Fill Patterns?
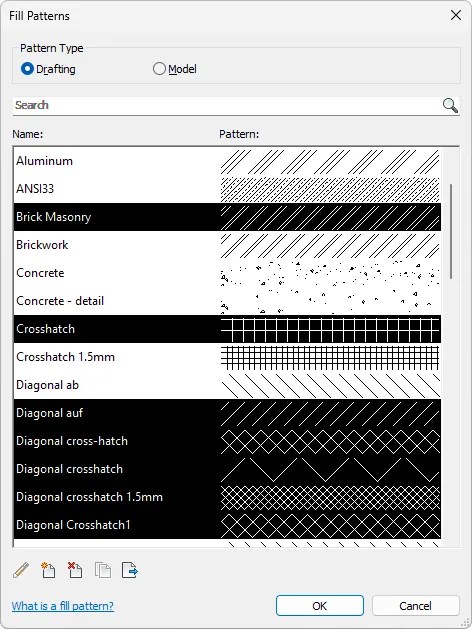
Edit fill patterns open a Fill Patterns dialog box. (Manage tab > Settings Panel > Additional Settings drop-down > Fill Patterns). Select the pattern you wish to edit and select Edit ![]() .
.
To Duplicate a pattern, select ![]() icon.
icon.
To Export patterns, select ![]() icon. You can select multiple patterns at once by holding down CTL or SHIFT.
icon. You can select multiple patterns at once by holding down CTL or SHIFT.
How to delete Fill Patterns?
Select patterns you wish to delete and select Delete icon ![]() .
.
Possible issues when deleting fill patterns
In the forums we came across several cases, where a company used multiple solid patterns in different languages (riempimento solido, relleno sólido and flächenfüllung) or where certain fill patterns were automatically created and repeated. The problem was, that when opening a Revit’s Fill Pattern dialog box, it showed only one patten, but not the repeated ones. The repeated versions could also not be deleted.
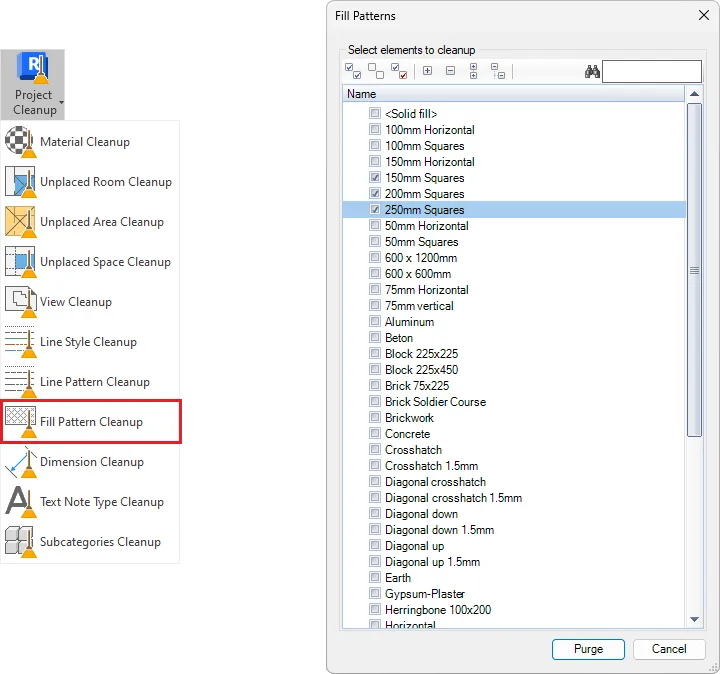
In these cases, users could solve their issue with the tool called Fill Pattern Cleanup.
Tool displays dialog, user select patterns he wants to delete and confirm the action with Purge.
Download a free trial of Kobi Toolkit for Revit, here.
Read more about Fill Pattern Cleanup and other Project Cleanup tools, here.

